

How Stained Glass Is Made: From Concept to Completion
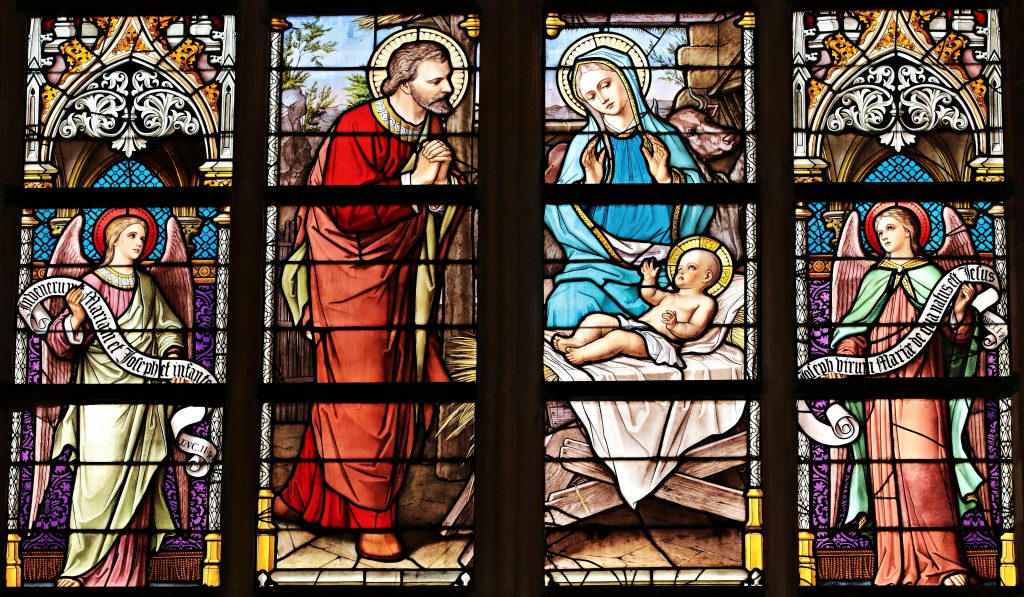
Stained glass has been admired for centuries for its luminous beauty and intricate designs. Whether adorning the windows of a grand cathedral or enhancing the charm of a private home, the creation of stained glass is a fascinating blend of artistry and craftsmanship. Here is a step-by-step overview of how stained glass is made.
Step 1: Designing the Concept
Every stained glass project begins with a design. The artist collaborates with the client to create a concept that suits the intended space. This phase often includes sketches or digital renderings, focusing on elements such as color, texture, and overall theme. A mockup is then created.
Step 2: Selecting the Glass
Stained glass comes in a variety of colors, patterns, and opacities. Sheets of glass are chosen based on the design’s requirements.
Step 3: Cutting the Glass
Using the mockup as a template, the artist cuts each piece of glass to fit precisely within the design. Special glass-cutting tools, such as a glass cutter with a sharp, wheel-shaped blade, ensure clean, accurate cuts. For more intricate shapes, grozing pliers or specialized saws may be used.
Step 4: Painting and Firing
Some designs require additional details, such as facial features, lettering, or shading. These elements are painted directly onto the glass using vitreous paints. Once painted, the glass is fired in a kiln, which fuses the paint to the surface and ensures durability.
Step 5: Assembling the Pieces
The cut and painted glass pieces are laid out according to the mockup. They are joined using strips of lead came, which are flexible yet sturdy. The lead came is shaped around each piece of glass, and joints are soldered to hold everything in place. For smaller, more detailed projects, copper foil and soldering are often used instead.
Step 6: Cementing and Waterproofing
To strengthen the panel and seal it against the elements, the spaces between the glass and the lead came are filled with a waterproofing cement. Excess cement is cleaned off, and the panel is polished to reveal its full brilliance.
Step 7: Framing and Installation
The finished panel is framed for stability and then installed in its designated location. This could be a window, cabinet door, or even a decorative hanging piece. Proper framing ensures the stained glass remains secure and can withstand the test of time.
The Art of Stained Glass
Every stained glass piece is a unique work of art, requiring patience, precision, and passion. From the initial design to the final installation, the process is a testament to the skill and creativity of the artist. Whether you’re considering stained glass for privacy, decoration, or restoration, understanding its creation can deepen your appreciation for this timeless craft.
For a visual showing of how this is done, check out:
ttps://www.youtube.com/watch?v=W5NOrG888CI